
Cleaning A Laser Printer In 5 Steps
Last Updated on April 14, 2021 by Christian Ralph
Whilst you should always seek the help of a professional, you can clean a laser printer yourself providing you have the time and equipment.
Unlike inkjets, laser printers don’t use liquid ink in the print process – thus, they’re less of a pain to clean. Here we offer a step-by-step guide on how to clean your laser printer in 5 easy steps.
What you’ll need
To clean a laser printer efficiently and safely, there are a few specialist tools you’ll need:
Toner Cloth: Toner cloth is specially made to attract and collect fine toner particles, and is far more efficient than a standard cloth or duster.
Mask: To protect yourself from irritant toner particles, wear a protective mask and ensure the room is well ventilated.
Isopropyl Alcohol: The purity of isopropyl alcohol ensures no residue is left on intricate components after cleaning.
Latex Gloves: Toner can cause skin irritation – wear latex or rubber gloves to protect your hands from abrasive substances.
Toner Vacuum (Optional): A toner vacuum is a powerful vacuum capable of trapping fine toner particles. They are expensive however, so are not deemed essential.
Step 1: Switch-Off and Wait
Before you even think about opening the back of your printer, switch it off at the mains and wait an hour or so depending on when you last used the machine. Laser printers generate a lot of heat whilst in operation, so it’s vital you wait for your machine to cool before fiddling with internal parts.
Step 2: Remove the Toner Cartridge and Bottle
Once your printer has cooled, open the rear of the machine and remove the toner cartridge and its accompanying bottle. Using a piece of toner cloth, remove any excess toner from the cartridge and set both components aside on a square of toner cloth.
Step 3: Remove Excess Toner from Inside the Machine
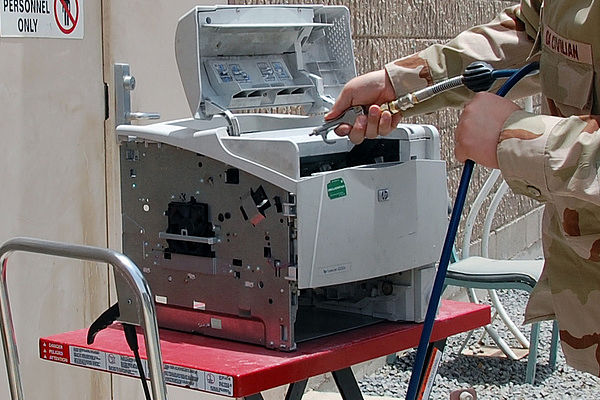
Using a piece of toner cloth (or a toner vacuum if you have one) remove excess toner from the inside of your laser printer. Toner residue is likely to build up where the cartridges are housed, as well as on components such as the drum. Be gentle when using toner cloth or a toner vacuum, as internal parts can be fragile and costly to repair should damage occur.
Step 4: Wipe Internal Surfaces with Isopropyl Alcohol
Some components within the machine require a different cleaning method to ensure no costly damage is inflicted. When cleaning intricate wires, moisten a swab with isopropyl alcohol and rub gently. Isopropyl alcohol is a pure substance, and will leave little to no residue on internal parts, making it ideal for cleaning complex printer mechanisms.
Step 5: Re-insert and Re-assemble
Once you’ve carefully removed excess toner residue from within your printer, it’s time to re-insert the toner cartridge and bottle. Do so according to manufacturer instructions, before closing the back of the machine. To ensure everything is working as it should, re-align the cartridges and produce a couple of trial prints. And you’re done.
For more helpful hints and tips on printer maintenance, check out the rest of the Printerland Blog or visit our homepage to browse our complete range of printers, ink cartridges and other printer consumables.
Image Sourced via Flickr Creative Commons. Credit: The U.S. Army.
Leave a Reply