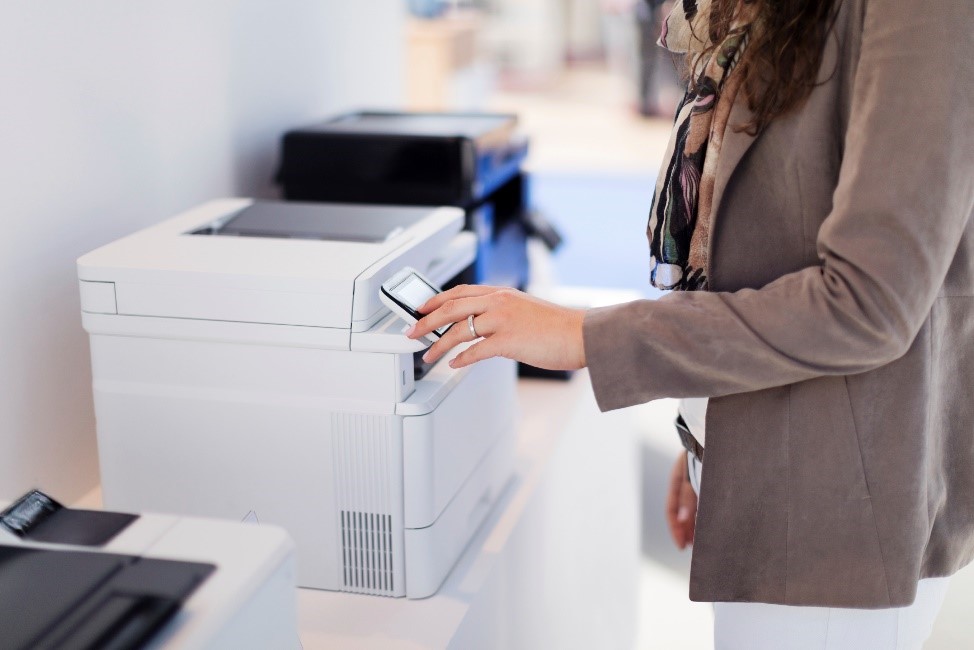
How To Clean A Laser Printer
Last Updated on April 14, 2021 by Christian Ralph
*Disclaimer*
Cleaning internal parts of a laser printer is done so at the owner’s risk and should only be performed by a qualified engineer.
Why is it important to clean a laser printer?
Printing is vital to all businesses so ensuring your laser printer is thoroughly cleaned is crucial as it allows your machine to continue working efficiently.
Cleaning a laser printer is easy with the correct equipment, however they are prone to dust and debris. As laser printers use toner cartridges, cleaning can be a messy job as they are filled with black powder.
If you are not confident of your ability to clean the printer correctly, you should contact a qualified professional. In some cases, performing your own maintenance may void your printer’s warranty, so make sure to consult your manufacturer guide before undertaking any cleaning yourself.
What you will need to clean a laser printer:
Ensure you have the proper cleaning equipment before you get started. You will need a disposable toner cloth to easily remove toner particles; a dust mask to avoid inhalation of the toner powder, and latex gloves to protect your hands and prevent irritation.
Follow these easy steps to clean a laser printer:
You should always check your machine’s individual manual first, as some printers have a specific cleaning mode, but here is a general guide.
1. Switch your printer off, unplug and allow to cool down
Laser printers can get very hot if they have been on for a long period of time, so it’s important to give them time to cool before you get to work.
2. Put on your latex gloves and dust mask
You’ll want to avoid serious health problems by making sure toner particles are not inhaled. Gloves should be tight-fitting to avoid skin irritation.
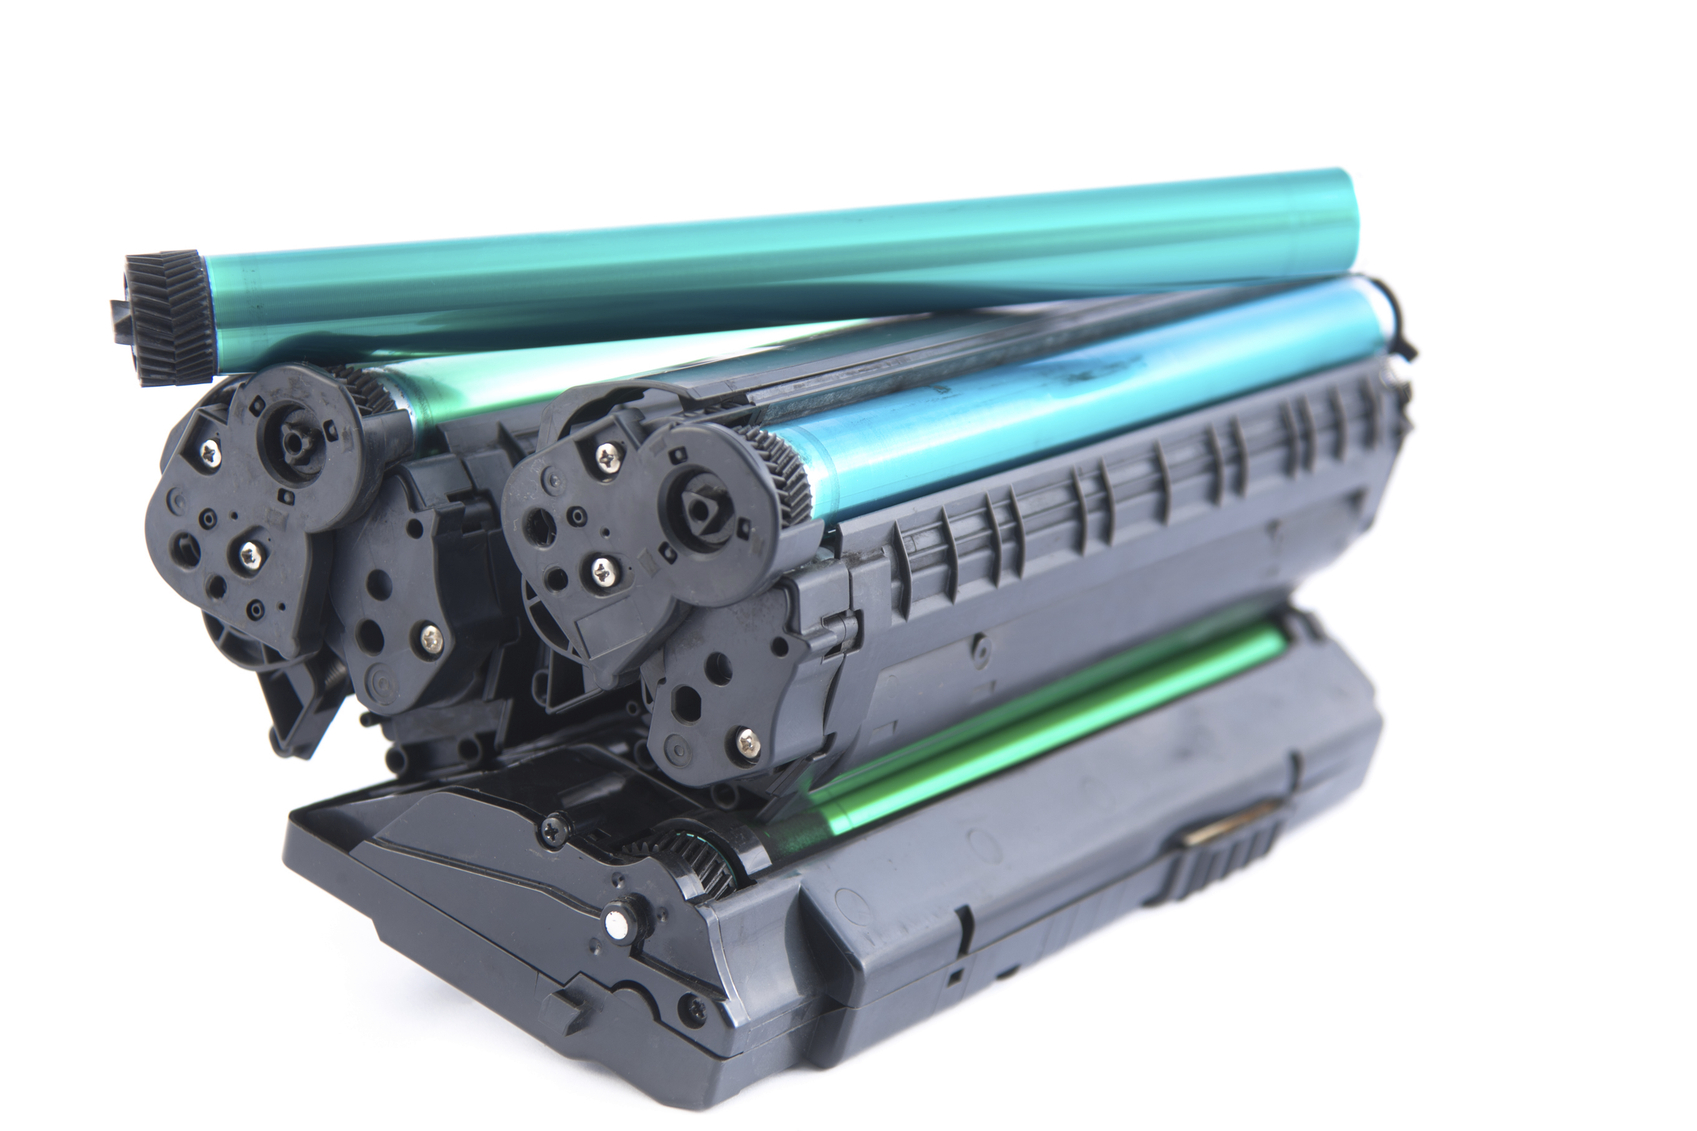
3. Remove the imaging drum
Once cool, you can open the back of the printer and carefully remove the imaging drum, which is usually brightly coloured, and place in a dim area to protect it from the light.
4. Remove the toner cartridge
Take out the toner cartridge by following the steps in your manual. Use the toner cloth to remove excess powder from the cartridge. While doing this, the fine-particle powder can get into the air. Sometimes the particles can take 15 minutes to settle if an air-conditioning system is running. It is a good idea to wear a mask to avoid inhalation.
5. Speak to a qualified engineer to clean internal parts
Areas of your laser printer, such as the internal surfaces and the corona wires, can be very dangerous to handle. For this reason, you should speak to a trained engineer about cleaning the electrical areas of your machine.
6. Clean surfaces with isopropyl alcohol wipes
These wipes dry very quickly and are preferred for cleaning electrical items. They are great for dissolving greasy marks after you have removed printer parts.
7. Reassemble parts
Now you are ready to insert the new toner cartridge. When this is done, you can close the printer, plug the cord back in and turn the printer on.
So, there you have it, a safe and easy method to cleaning your laser printer. If you need any support with your current model, please contact our expert team and we’ll be happy to help.